
Create a simple automation
Build a simple automation step by step: pick a channel group and channels, start from a template or scratch, choose a trigger, add conditions and steps, and publish.
Every simple automation has the same parts: a channel group, the channels it runs on, a trigger, optional conditions, and the steps to run. This page walks through each part and lists every trigger and step.
Open it from Settings → Workflows & AI Agents → Simple Automations and click Add an Automation.
How do I create a simple automation?
Name it, choose where it runs, pick a template or a trigger, add steps, then publish.
Start a new automation
Go to Settings → Workflows & AI Agents → Simple Automations and click Add an Automation.
Name it
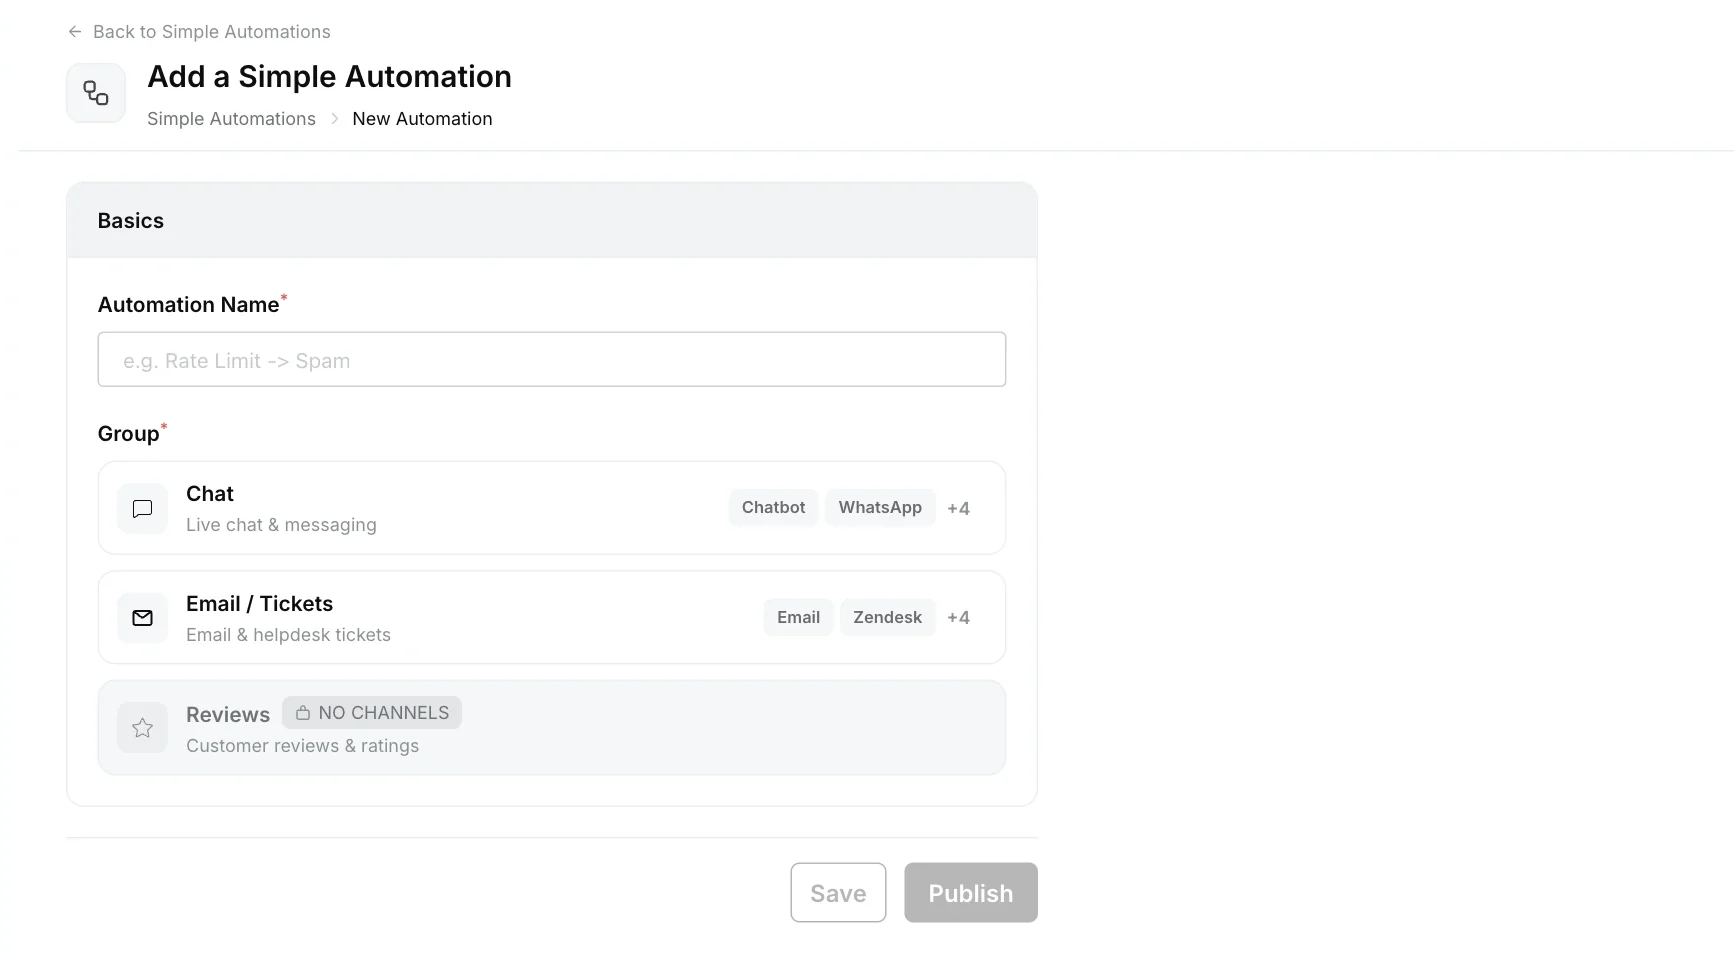
Under Basics, enter an Automation Name that says what it does, for example “Close inactive chats”.
Choose the group and channels
Under Group, choose Chat, Email / Tickets or Reviews. Then click Add a Channel and pick the channels it should run on, for example Robylon Chat for your website chatbot.
Pick a template or start from scratch
Under Template, choose a ready-made template or Start from scratch. See Which templates are available?
Choose the trigger
Under Trigger, choose when the automation runs, then fill in the trigger’s properties. See Which triggers can I use?
Add conditions (optional)
Under Conditions, narrow down when it runs. See How do conditions work?
Add steps
Under Steps, click Add Action and choose what happens. Add as many steps as you need. They run in order. See Which steps can I add?
Save or publish
Click Save to keep it as a draft, or Publish to make it live.
Which templates are available?
Templates fill in the trigger and steps for you, and you can change anything before publishing. The templates you see depend on the channel group, and a template is hidden when its trigger is already used on the channels you picked. If none fit, choose Start from scratch.
Which triggers can I use?
The triggers you see depend on the channel group and channels you chose.
Chat triggers
| Trigger | When it runs | What you set |
|---|---|---|
| When a customer has been unresponsive | The customer has not replied for a set time after your last message. | Handled By (Bot, Human Agents or both), Chat Status, and Unresponsive for a number of seconds, minutes or hours |
| When an agent has been unresponsive | An assigned agent has not replied to the customer for a set time. | Duration, chat statuses, agent statuses to exclude, and whether to count all hours or only the group’s working hours |
| When a human agent changes the chat status | An agent changes the chat to the status you choose. | The status |
| When a customer replies to a message | A customer replies in a chat handled by a human agent. | At least one chat status condition |
| When the AI limit is exhausted in a conversation | The AI agent reaches its limit in a conversation. | Optional conditions |
| When there is a technical glitch in the chat | The workflow running the chat fails. | Nothing |
| When a chat is merged | A chat is merged into another. | Nothing |
| When time conditions are met | Time-based rules you set are met. | Time conditions |
| When users do not reply to outbound template | WhatsApp only: a customer has not replied to a WhatsApp template you sent. | Waiting time |
For When a customer has been unresponsive, the time is measured from the last message you sent with no reply from the customer. For chats handled by human agents, the minimum is 2 minutes.
Email and ticket triggers
| Trigger | When it runs |
|---|---|
| When a ticket is created | A new ticket arrives. |
| When a ticket is updated by a human agent | An agent changes the status, priority, group, assignee or a property, sends a reply, or adds an internal note. |
| When a customer has been unresponsive | The customer has not replied for a set time. |
| When a human agent changes the chat status | An agent changes the ticket to the status you choose. |
| When time conditions are met | A time rule is met, for example a set number of hours since the ticket was created, assigned or last answered. You can choose the timezone, active hours, and whether it runs only once per ticket. |
| When a CSAT response is received | A customer submits a CSAT rating. See CSAT forms. |
| When the AI limit is exhausted in a conversation | The AI agent reaches its limit on a ticket. |
| When an email is merged | A ticket is merged into another. |
| When a customer replies to an email ticket | A customer replies to a ticket handled by a human agent. |
Helpdesk channels such as Zendesk, Freshdesk and Zoho Desk support When a ticket is created, When a customer has been unresponsive and When a human agent changes the chat status.
How do conditions work?
Conditions narrow down when the automation runs. Group conditions with AND or OR logic. You can have up to 2 groups.
For email and tickets, you can filter on the sender’s email or domain, subject, body, To or CC address, body length, attachments, tags, ticket properties, status, group, agent, and the number of agent or customer messages. Time conditions add fields such as hours since the ticket was created, assigned or last answered.
For chat, conditions are available on When the AI limit is exhausted in a conversation and When a customer has been unresponsive: status, group, agent, and the number of agent or customer messages.
Which steps can I add?
Click Add Action to add a step. Steps run one after another in the order shown.
Chat steps
| Step | What it does |
|---|---|
| Send a message | Sends a message. Choose Send Reply to message the customer, or Add a note for an internal note only your team sees. |
| Snooze | Waits for a set time, in seconds, minutes or hours, before the next step. Use it to space out a reminder and a follow-up. |
| Handover to Agent | Assigns the chat to a human agent. |
| Handover to Group | Assigns the chat to a group: Same group reassigns it to another available agent in its current group, A specific group moves it to another group. See Groups. |
| Change status / Update Status | Sets the chat to any chat status, such as Open, Pending or Closed. Both steps set the status in the same way, so use either one. |
| Send an email | Sends an email from Robylon’s own address. Set the sender name, To, optional Reply-To, CC and BCC, subject, body and attachments. Replies to this email are not recorded. |
| Call API | Calls one of your saved APIs. See APIs. |
| Send outbound message | WhatsApp only: sends a WhatsApp template. |
If the customer replies, the chat is handed over, or its status changes while an automation is waiting, the remaining steps are cancelled. This stops a “we’re closing this chat” message arriving after the customer has come back.
Email and ticket steps
| Step | What it does |
|---|---|
| Add tag | Adds a tag to the ticket. |
| Change status | Sets the ticket status. |
| Update property | Sets a ticket property. |
| Assign to group / Assign to agent | Assigns the ticket. |
| Send response | Sends an email reply to the customer, or adds an internal note. |
| Snooze | Waits before the next step. |
| Merge ticket | Merges the ticket Into Old Ticket or Into New Ticket. |
| Mark as Spam / Mark as Duplicate | Marks the ticket. |
| Create ticket | Creates a new ticket. |
| Send email to agent / Send email to group | Alerts your team by email. |
| Call API | Calls one of your saved APIs. See APIs. |
In what order do simple automations run?
For email and tickets, you set the order. Click Manage Execution Order on the Simple Automations list and drag the automations into order. When a ticket is created, matching automations run in that order, and an automation can be set to stop the rest from running after it.
Ticket-created automations run first. When they have finished, the email workflow runs on the ticket as usual.
For chat, simple automations run alongside the workflow and have no set order.
How do I pause or change a live automation?
Open it from the list, make your changes and click Publish again. To stop it running, unpublish it, and it moves to Paused. Use the Status and Channels filters and the search box on the list to find automations.