# Customize your Robylon Bot
Step-by-step to tailor tone, intents, guardrails, knowledge sources, and handoffs-so your AI agent matches your brand and resolves faster.
> Source: https://www.robylon.ai/docs/customize-your-robylon-bot
> Section: Making the chatbot go Live
**Step 1**: Log in to your Robylon account and open the dashboard.
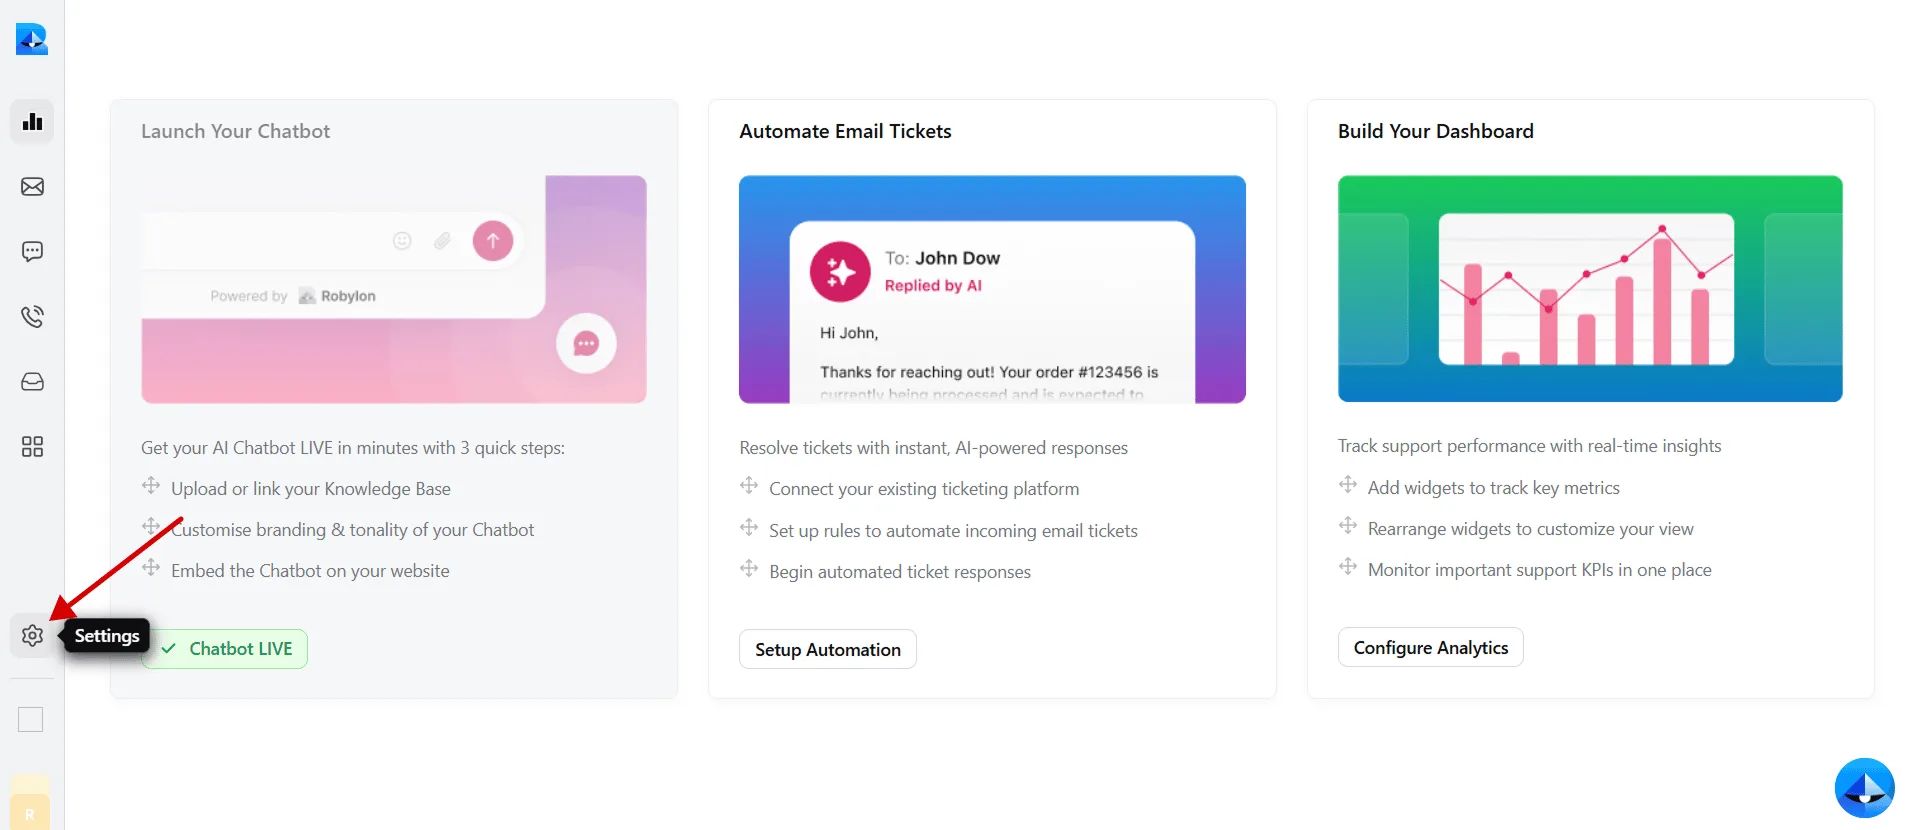
**Step 2**: In the left panel, click on the Settings button.
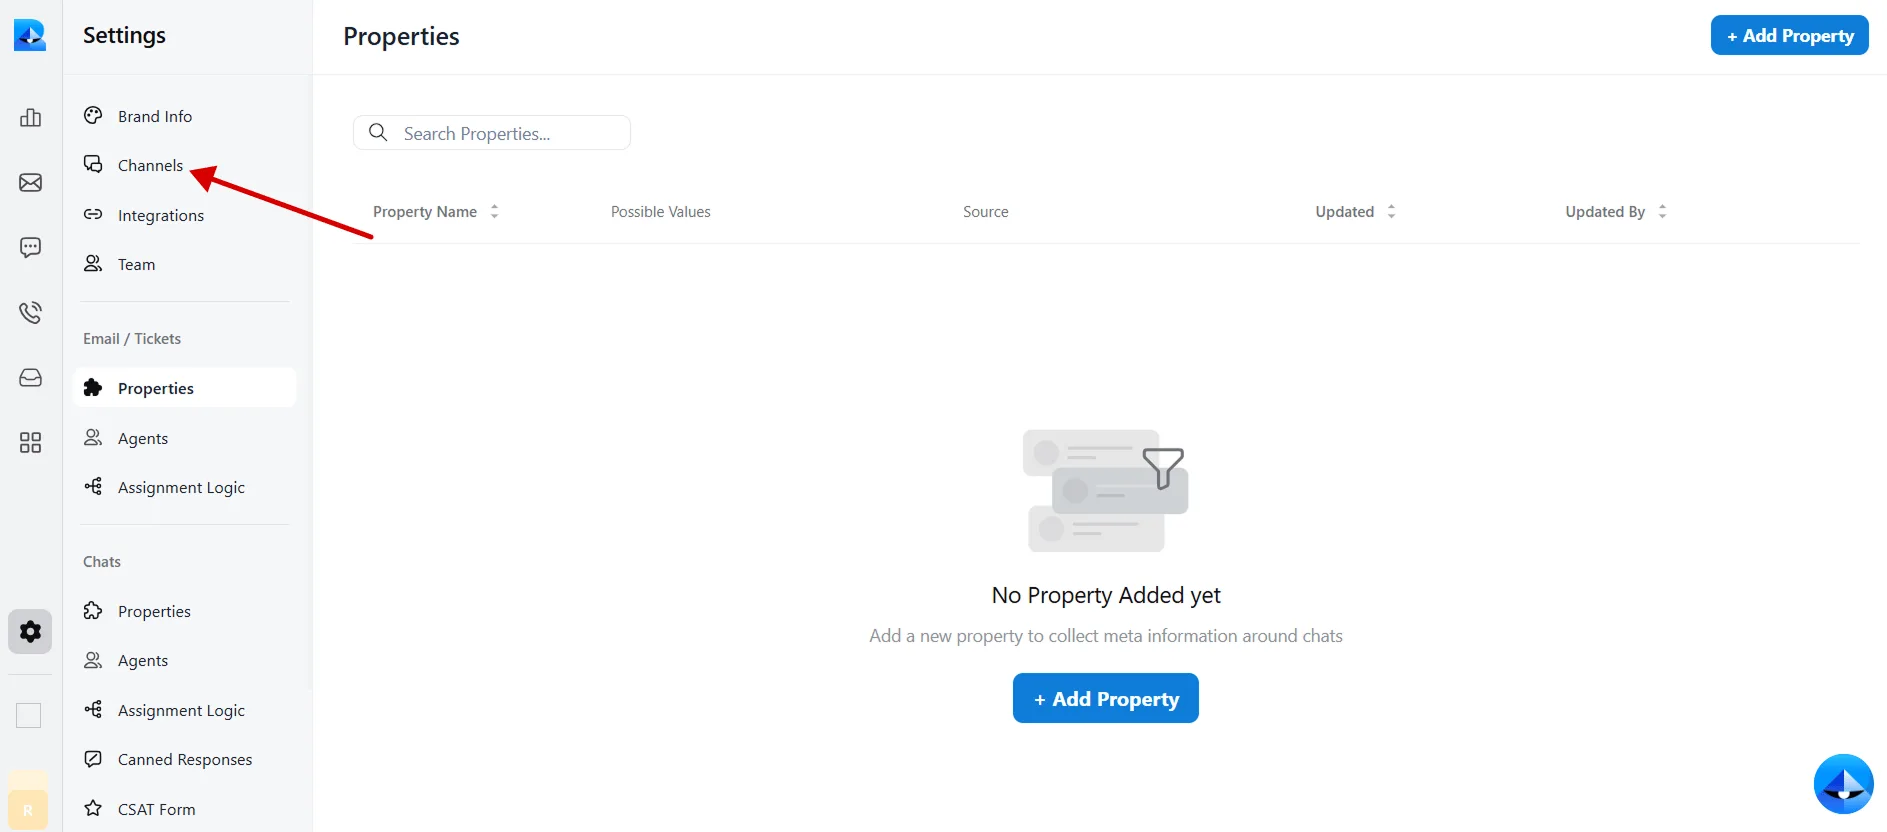
 **Step 3**: Within the Settings tab, select Channels.
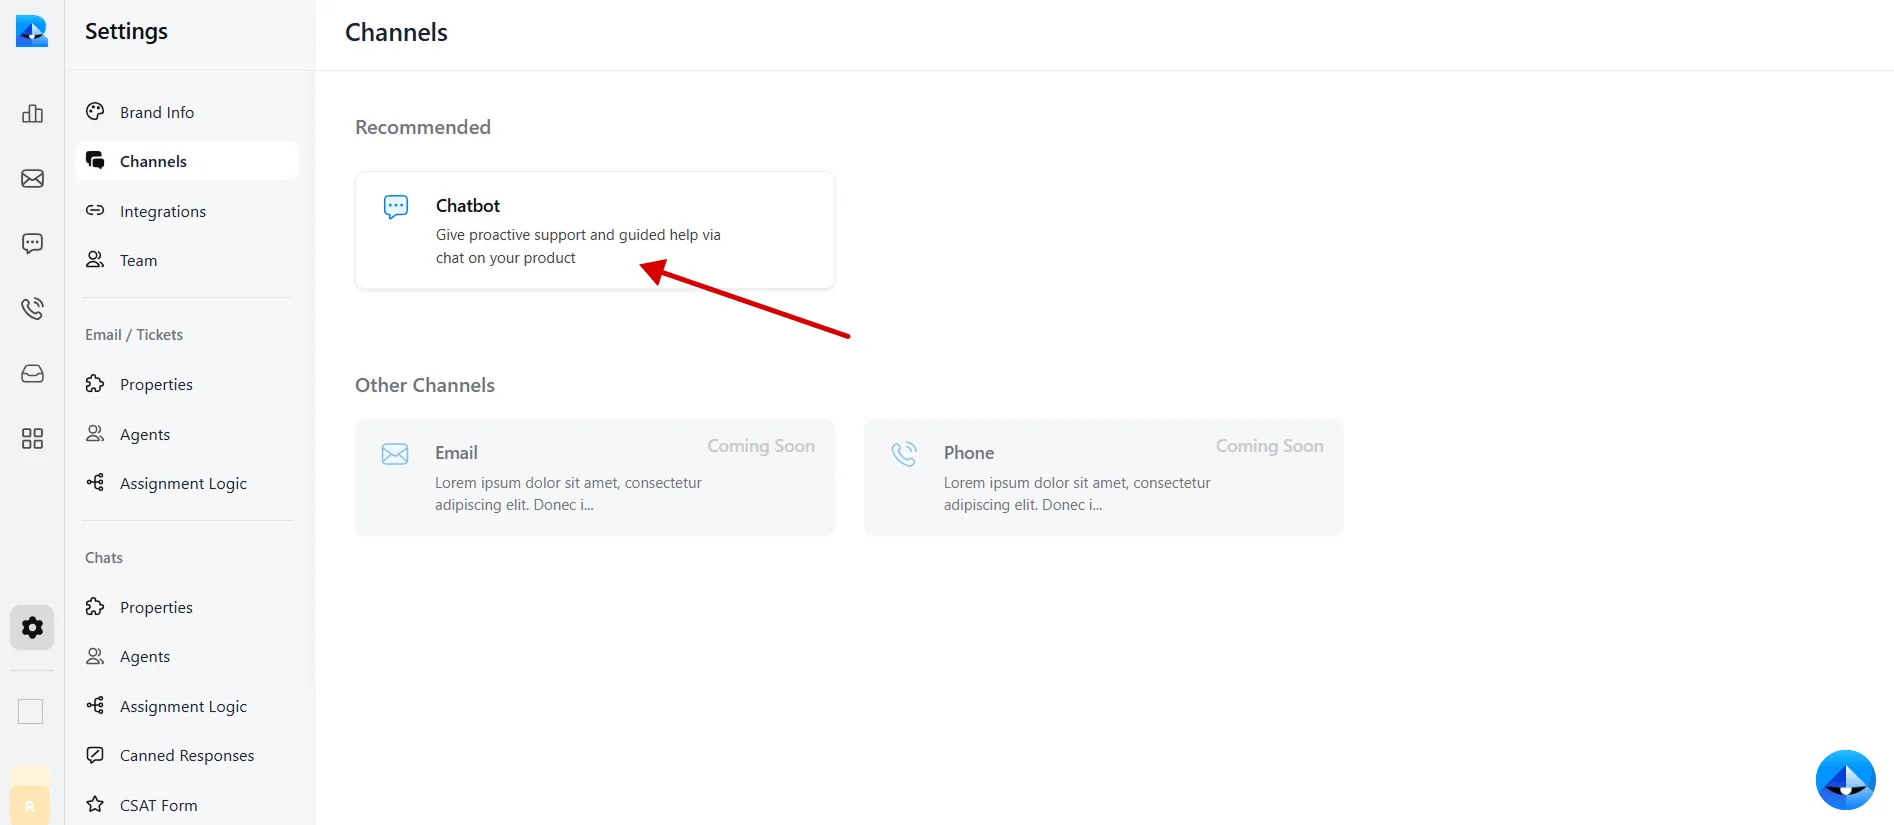
 **Step 4**: Click on Chatbot to open its interface.
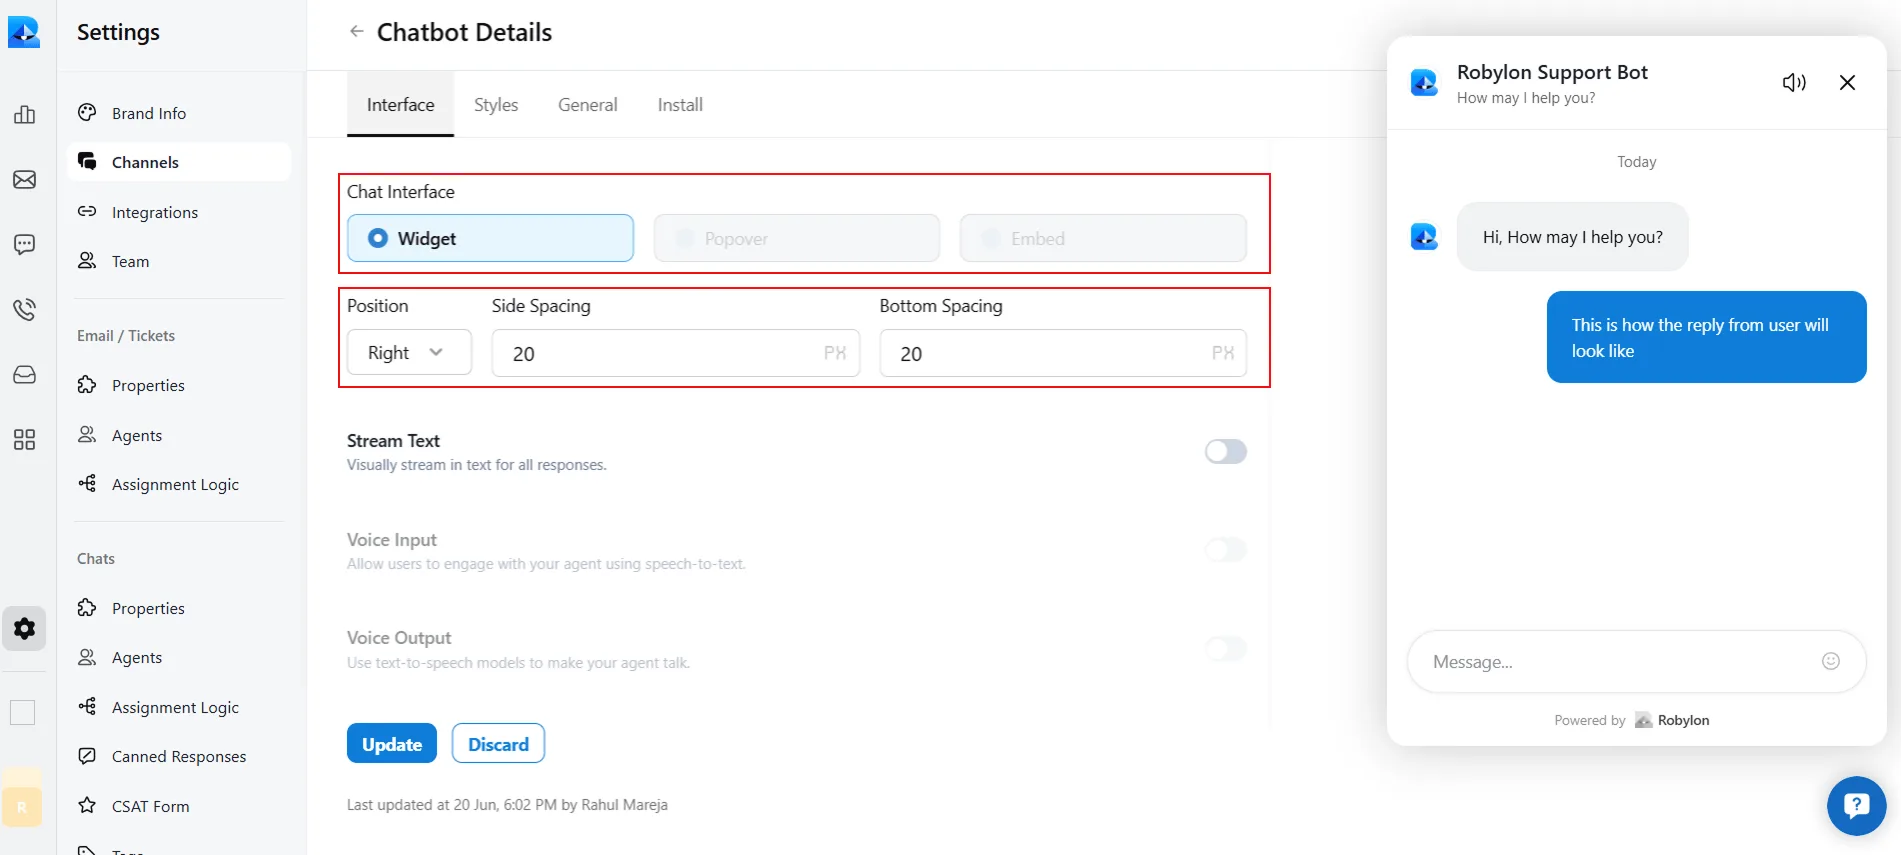
 **Step 5**: Now, here in the ‘Interface’ section, you can customize the chat interface and positioning of your chatbot.
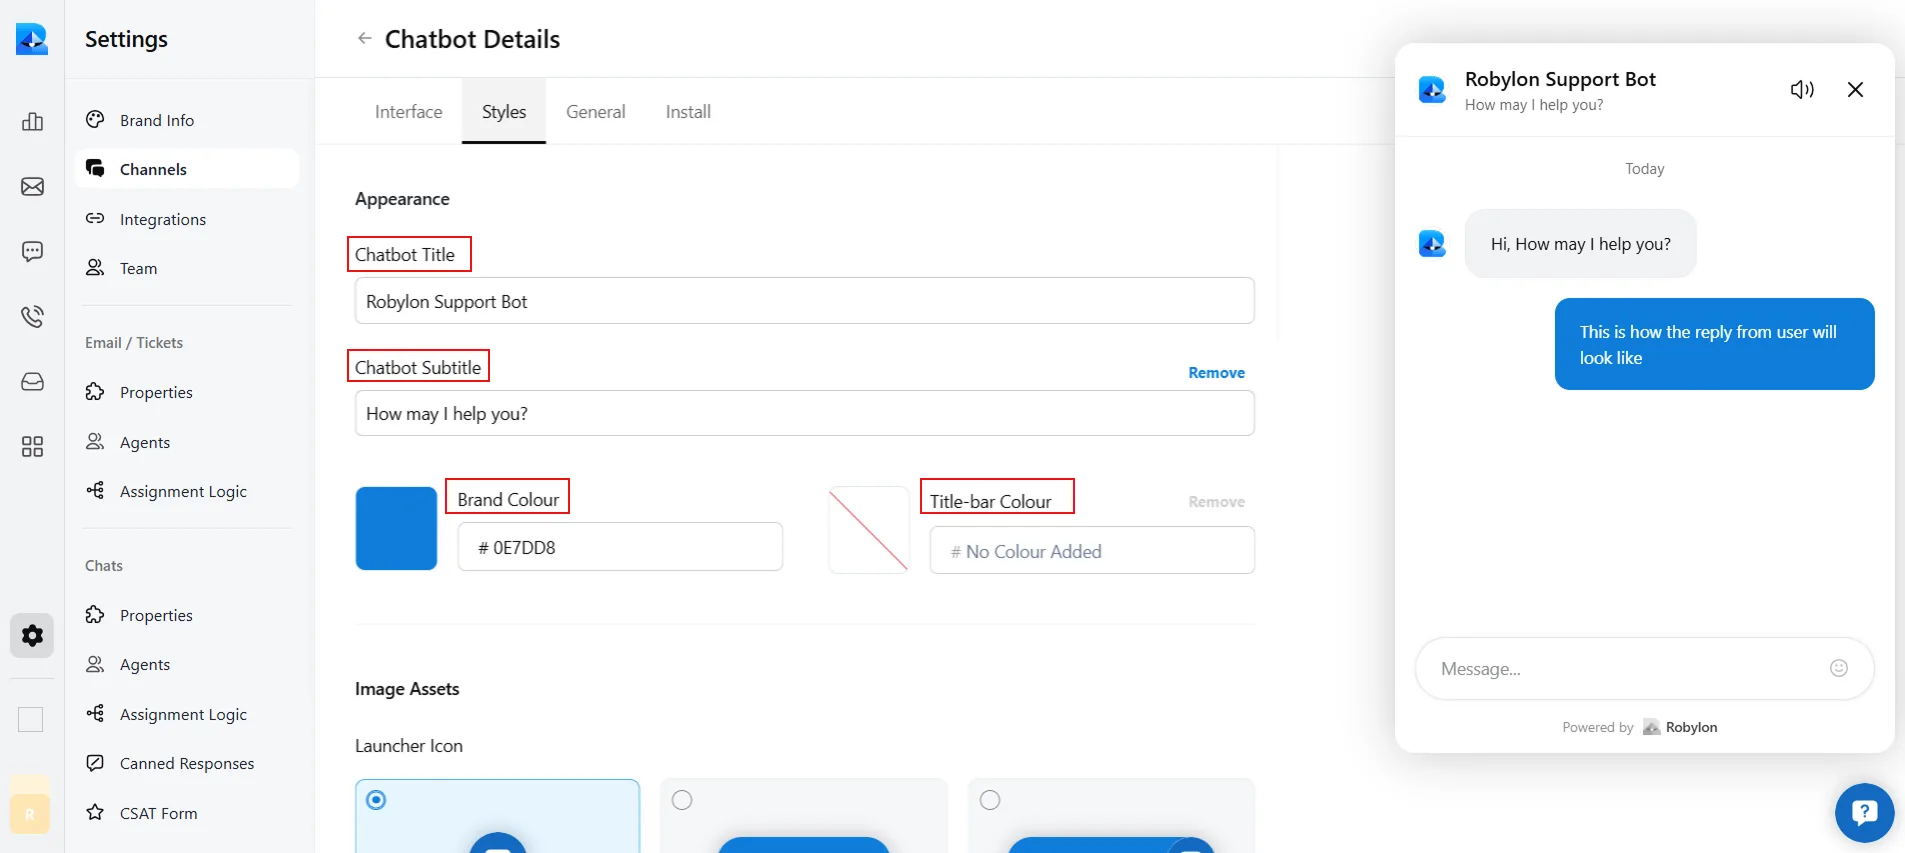
 **Step 6**: Then, click on the ‘Styles’ section, where you customize your chatbot’s appearance.
* In this section, you can edit your chatbot title, subtitle, and colors of your chatbot.
**Step 6**: Then, click on the ‘Styles’ section, where you customize your chatbot’s appearance.
* In this section, you can edit your chatbot title, subtitle, and colors of your chatbot.
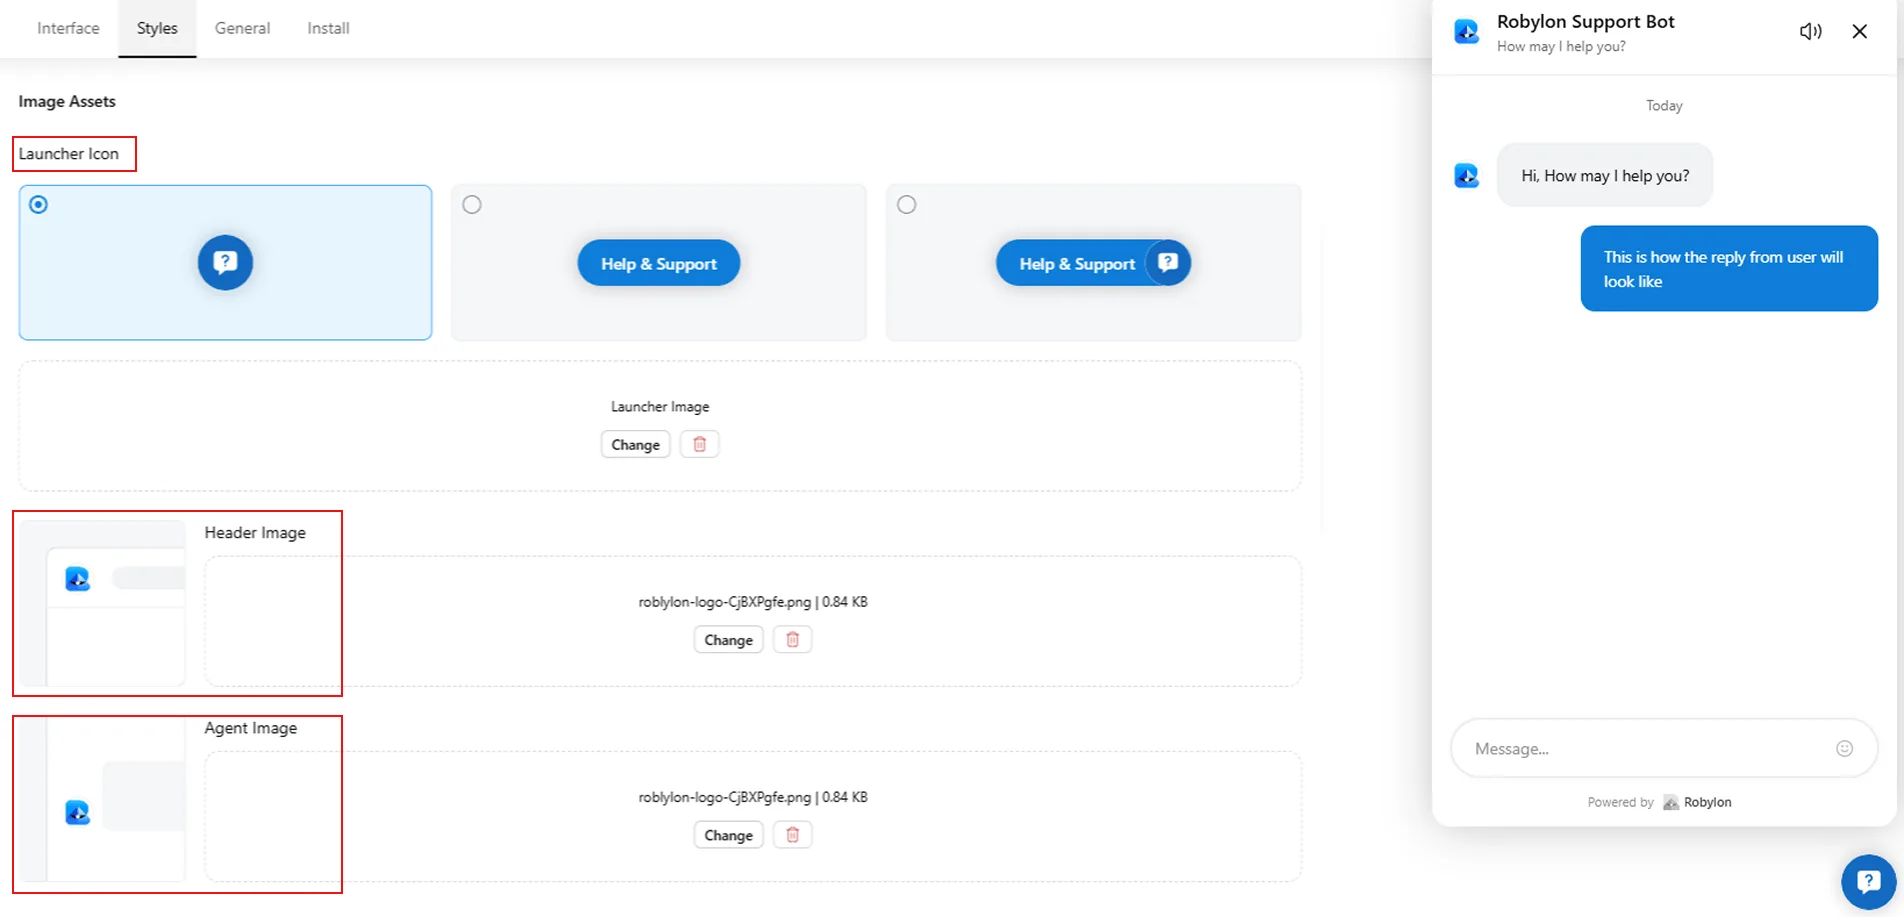
 * Scroll down in this section to customize the image assets of your bot, like the launcher icon, the header image, and the agent image of your bot.
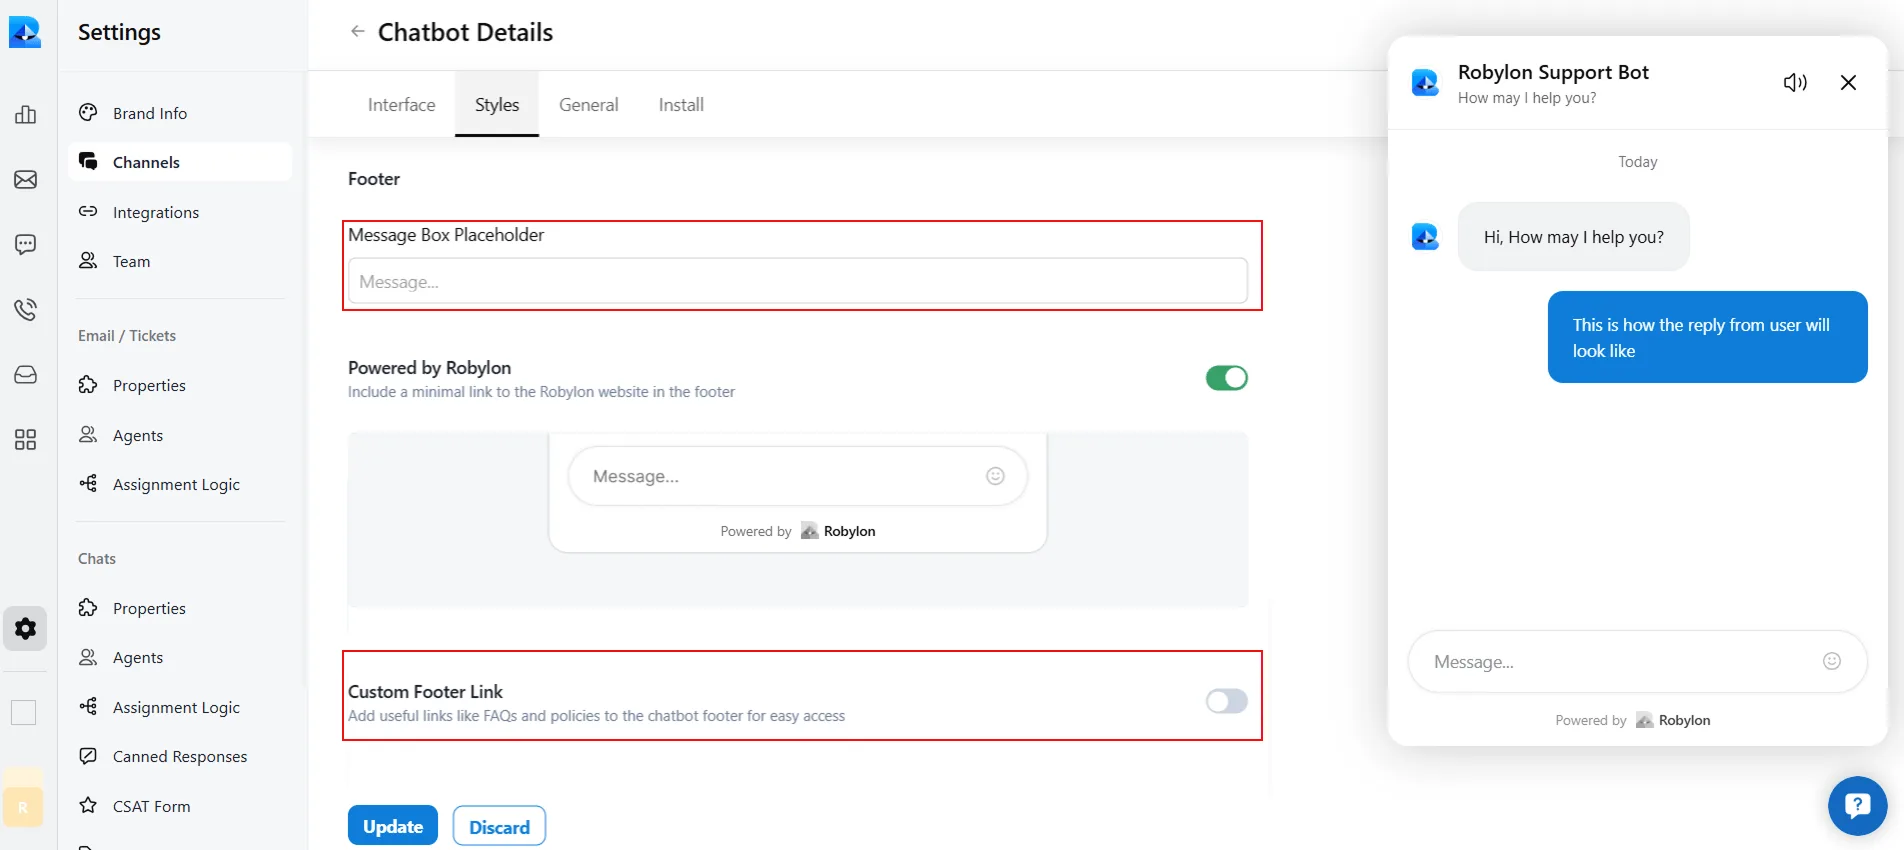
 * Then, scroll down in this section to customize the footer of your chatbot, such as the message box placeholder. You can also add custom footer links in the footer.
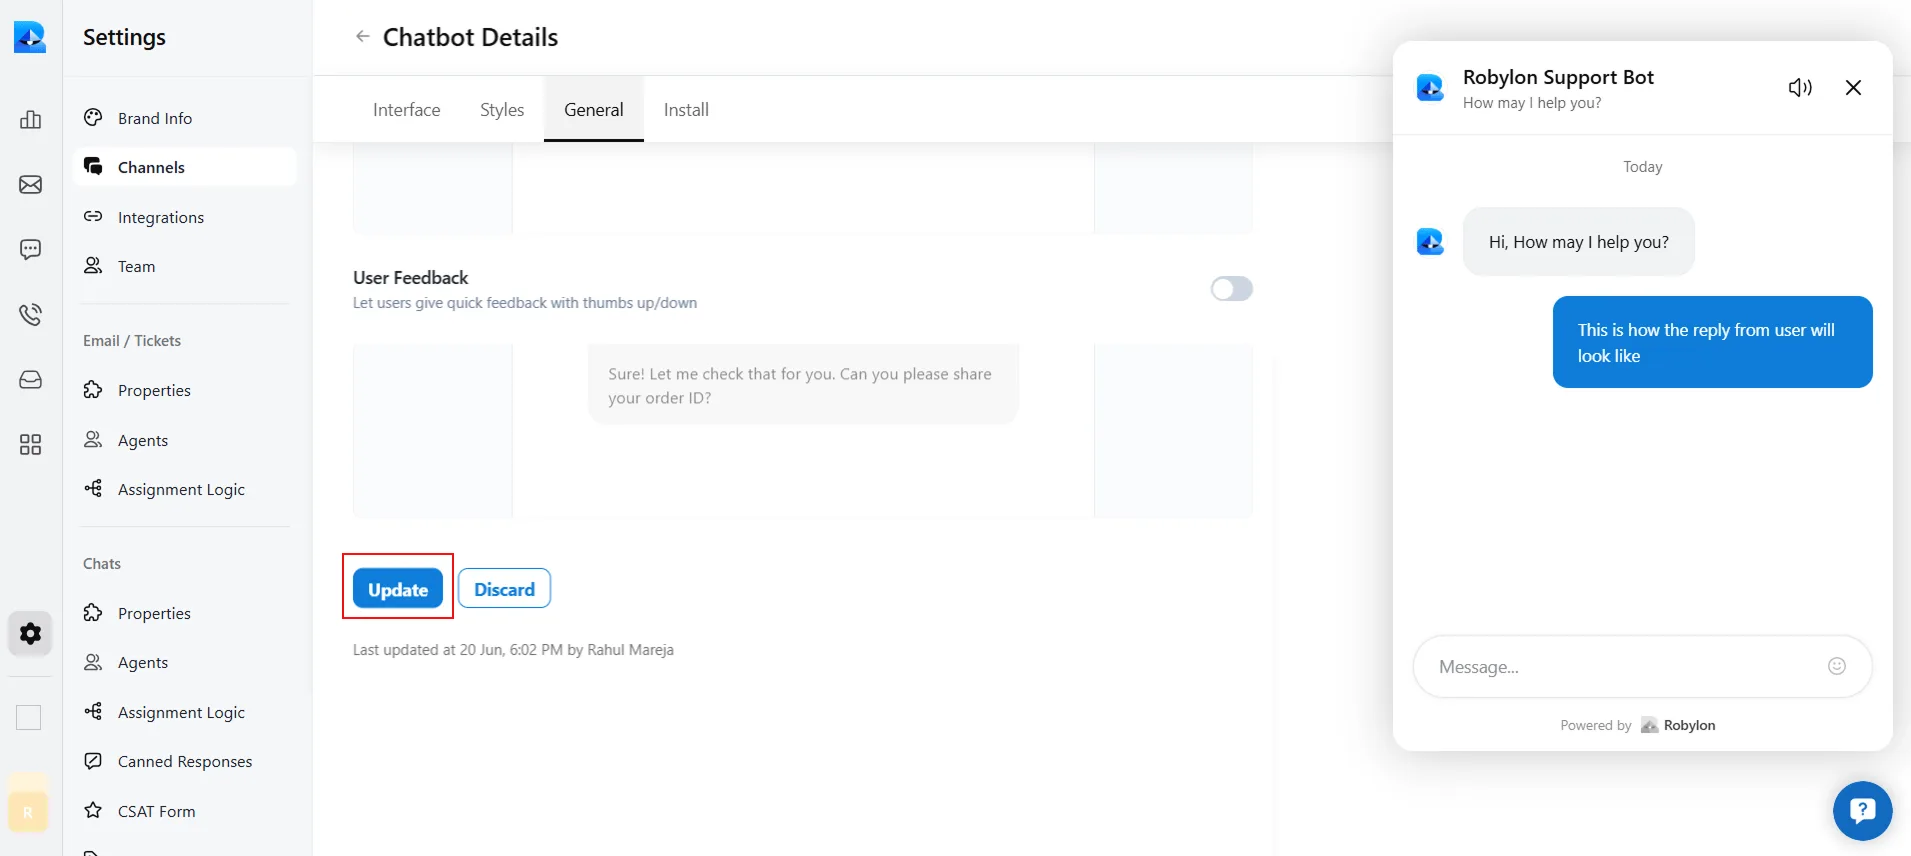
 **Step 7**: Then, click on the ‘General’ section, where you can add an AI Disclaimer and User feedback in your chatbot, also you can add a message sound to your chatbot in this section.
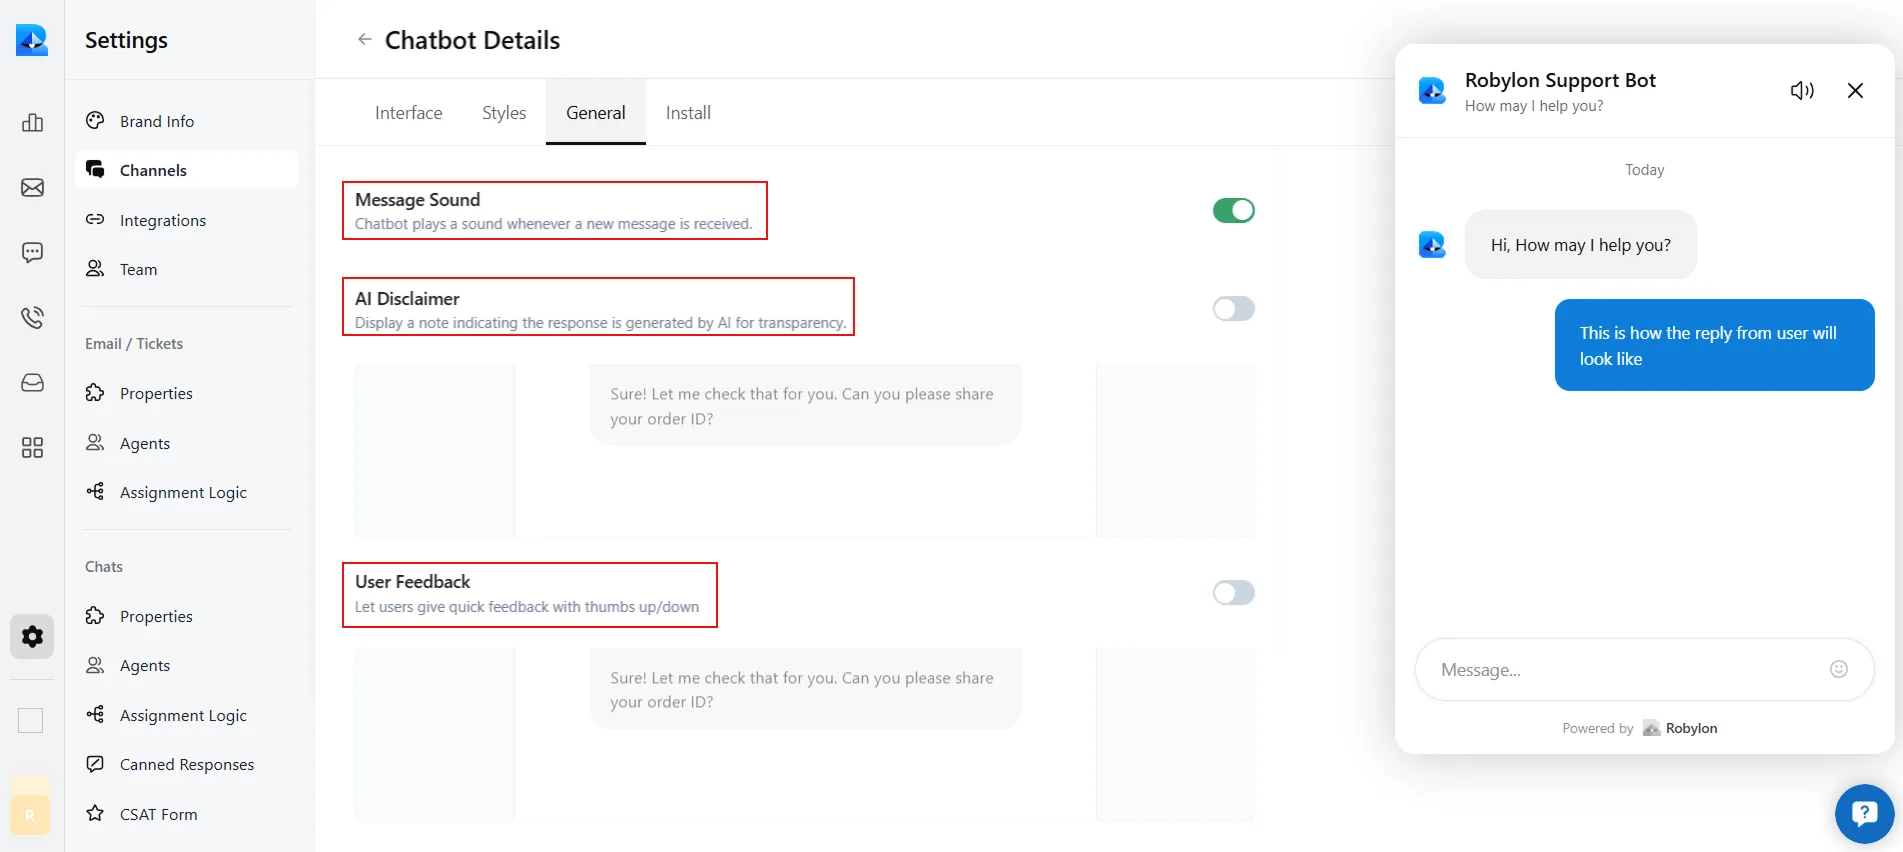 **Step 8**: After changing every setting in each tab: Interface, Styles, and General, click on the update button in each tab to save your changes.