# Install the Robylon Chatbot on a Webflow Site
Add the Robylon chatbot to your Webflow site by pasting the snippet into a page's custom code, then publishing.
> Source: https://www.robylon.ai/docs/chatbot/install/webflow
> Section: Chatbot
To add the Robylon chatbot to a Webflow site, copy the chatbot's snippet from Robylon and paste it into the custom code of each page where it should appear. You need designer access to the Webflow site.
## How do I copy the chatbot snippet from Robylon?
Go to **Settings → Channels → Chatbot**, click your chatbot, open the **Install** tab, choose **Web → Webflow**, and copy the snippet. It already contains your Chatbot ID. See [Installation](https://www.robylon.ai/docs/chatbot/installation) for what the snippet does.
## How do I add the chatbot to my Webflow site?
Paste the snippet into the page's custom code, then publish.
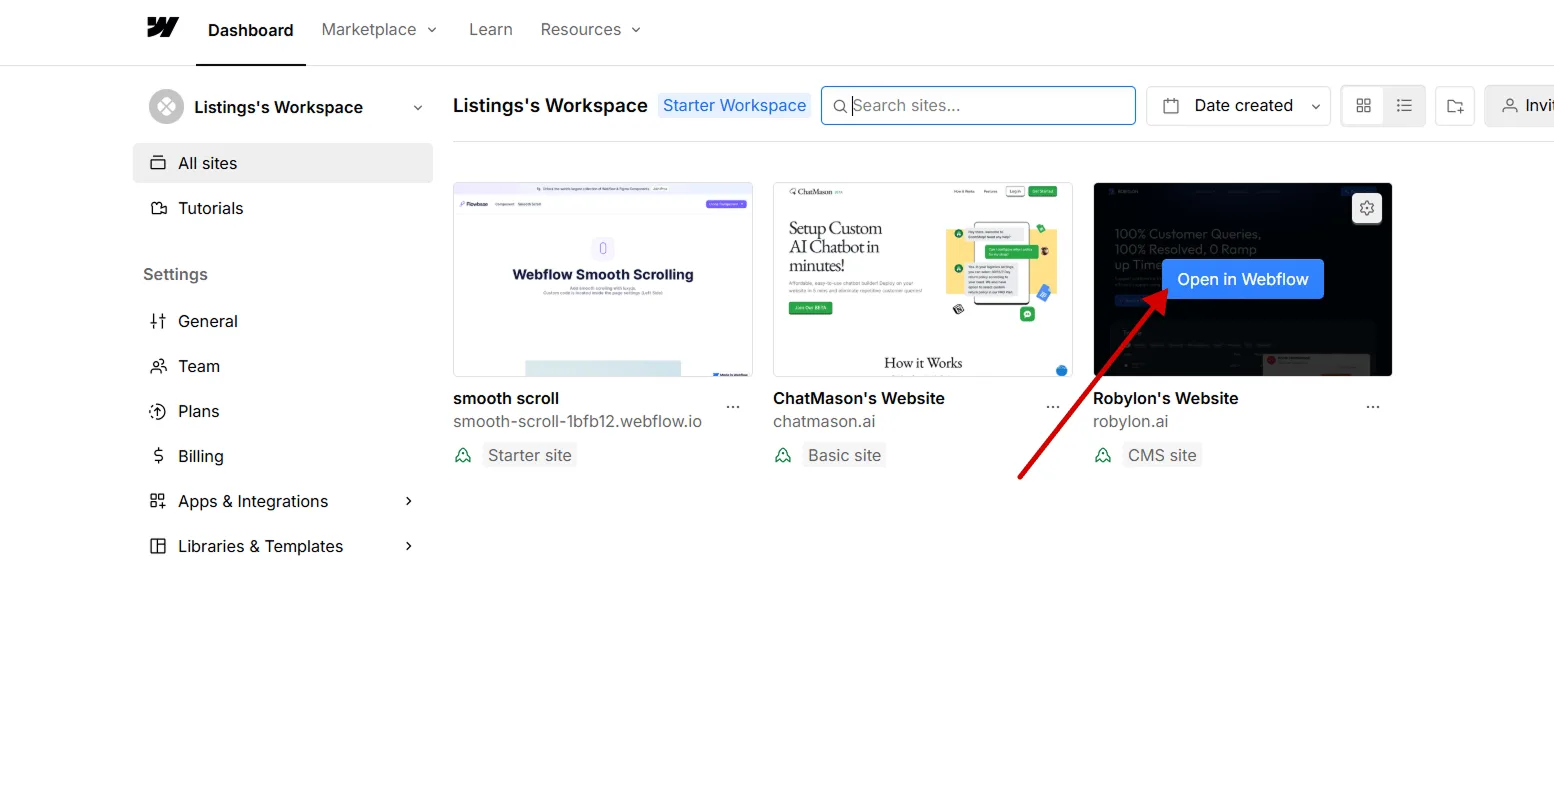
Sign in to Webflow, hover over your site and click **Open in Webflow**.
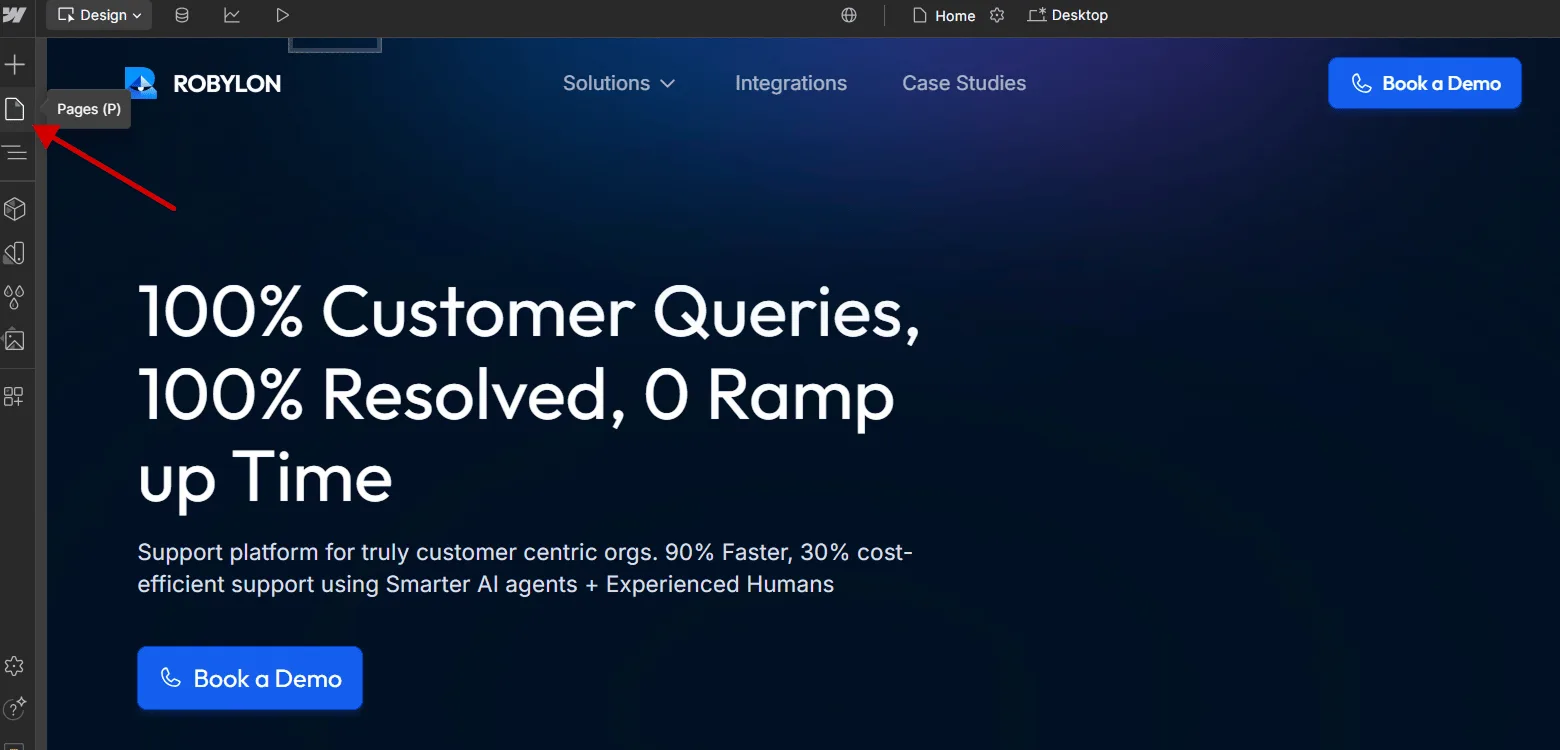
 Click the **Pages** icon in the left toolbar of the Designer.
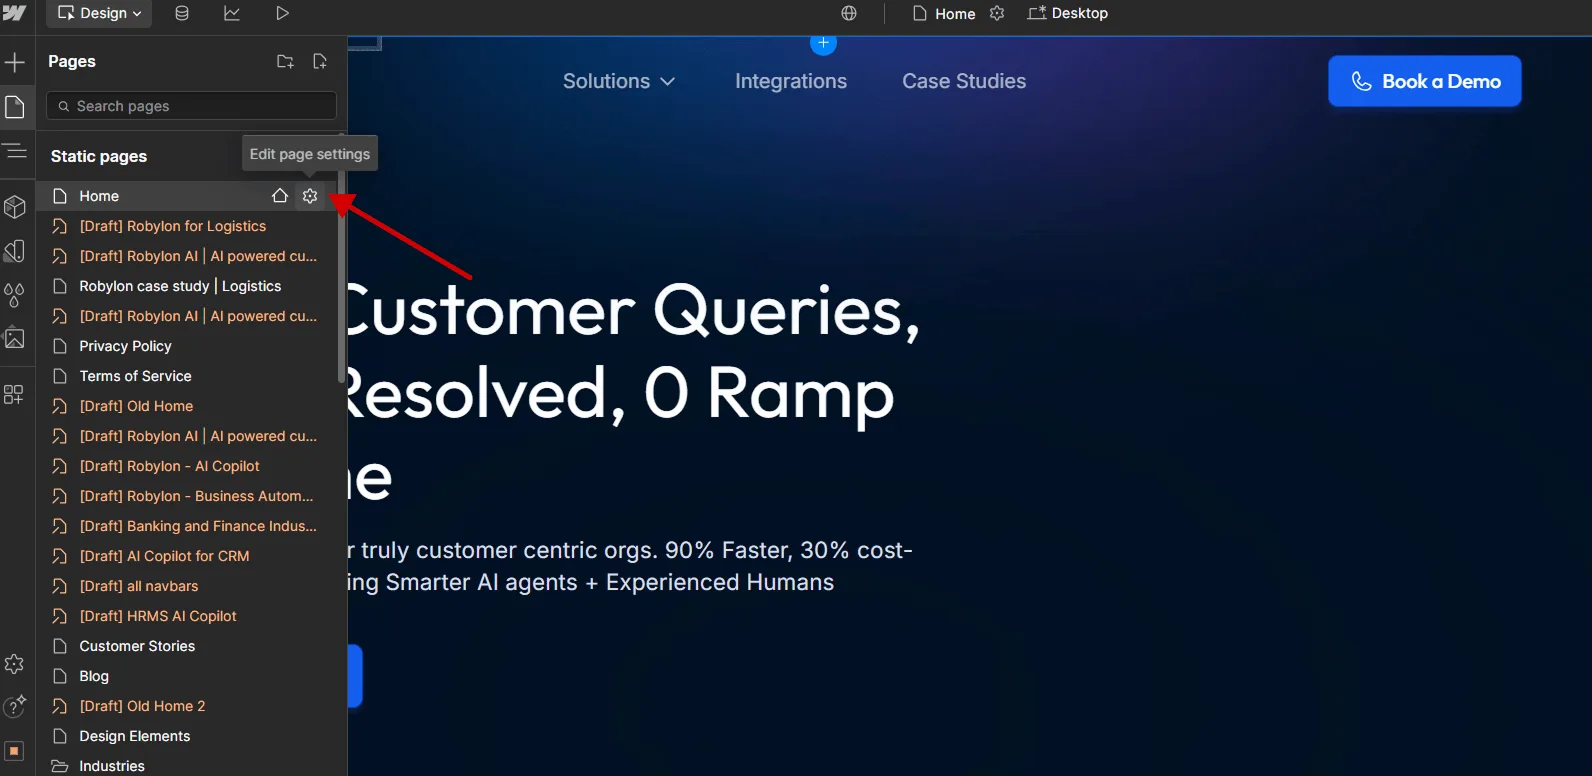
 Hover over the page you want and click its settings (gear) icon.
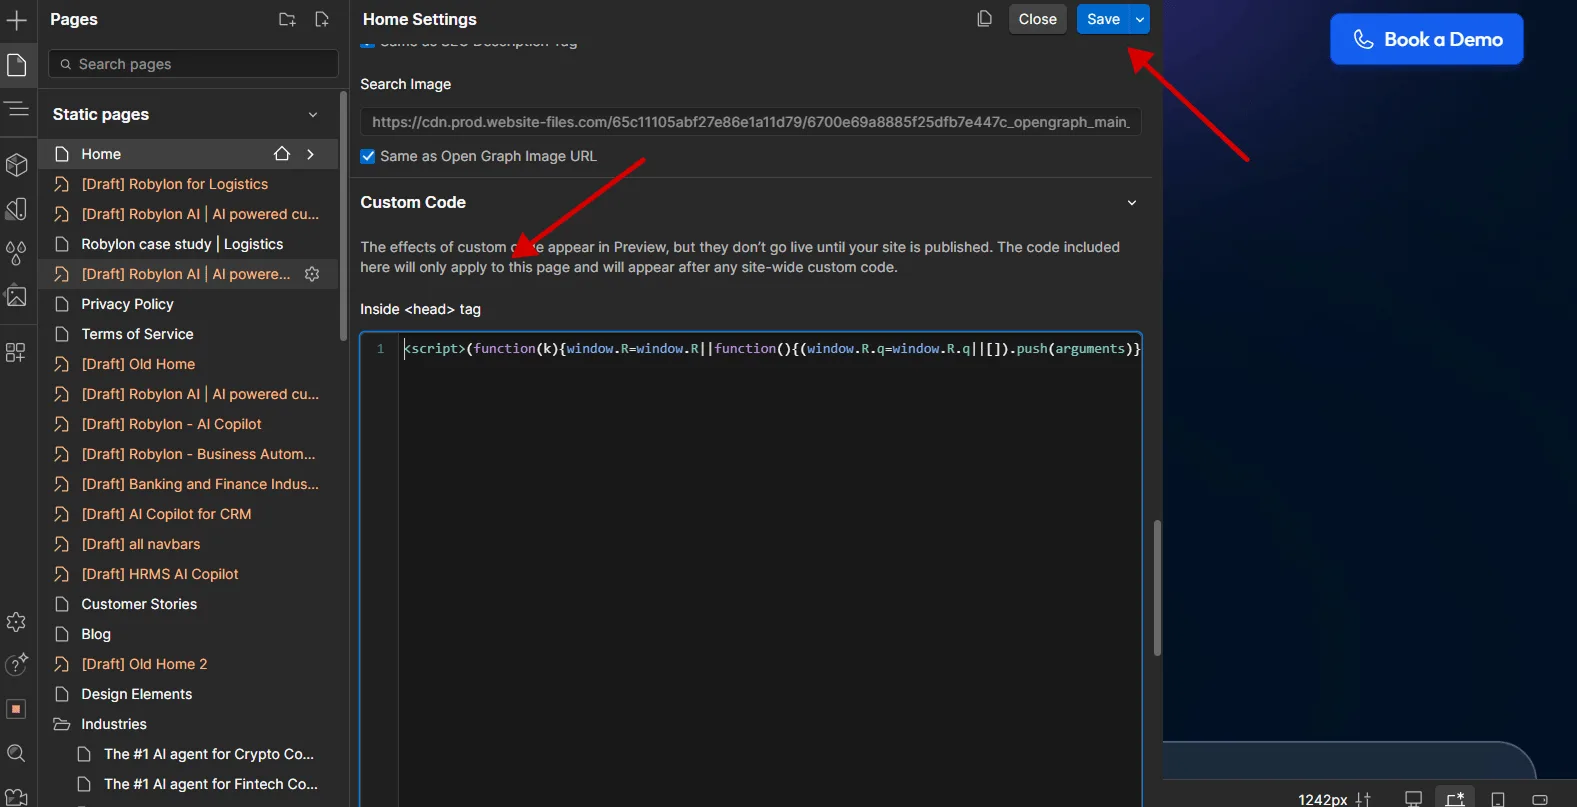
 Scroll to **Custom Code** and paste the Robylon snippet inside the `` tag field. Save.
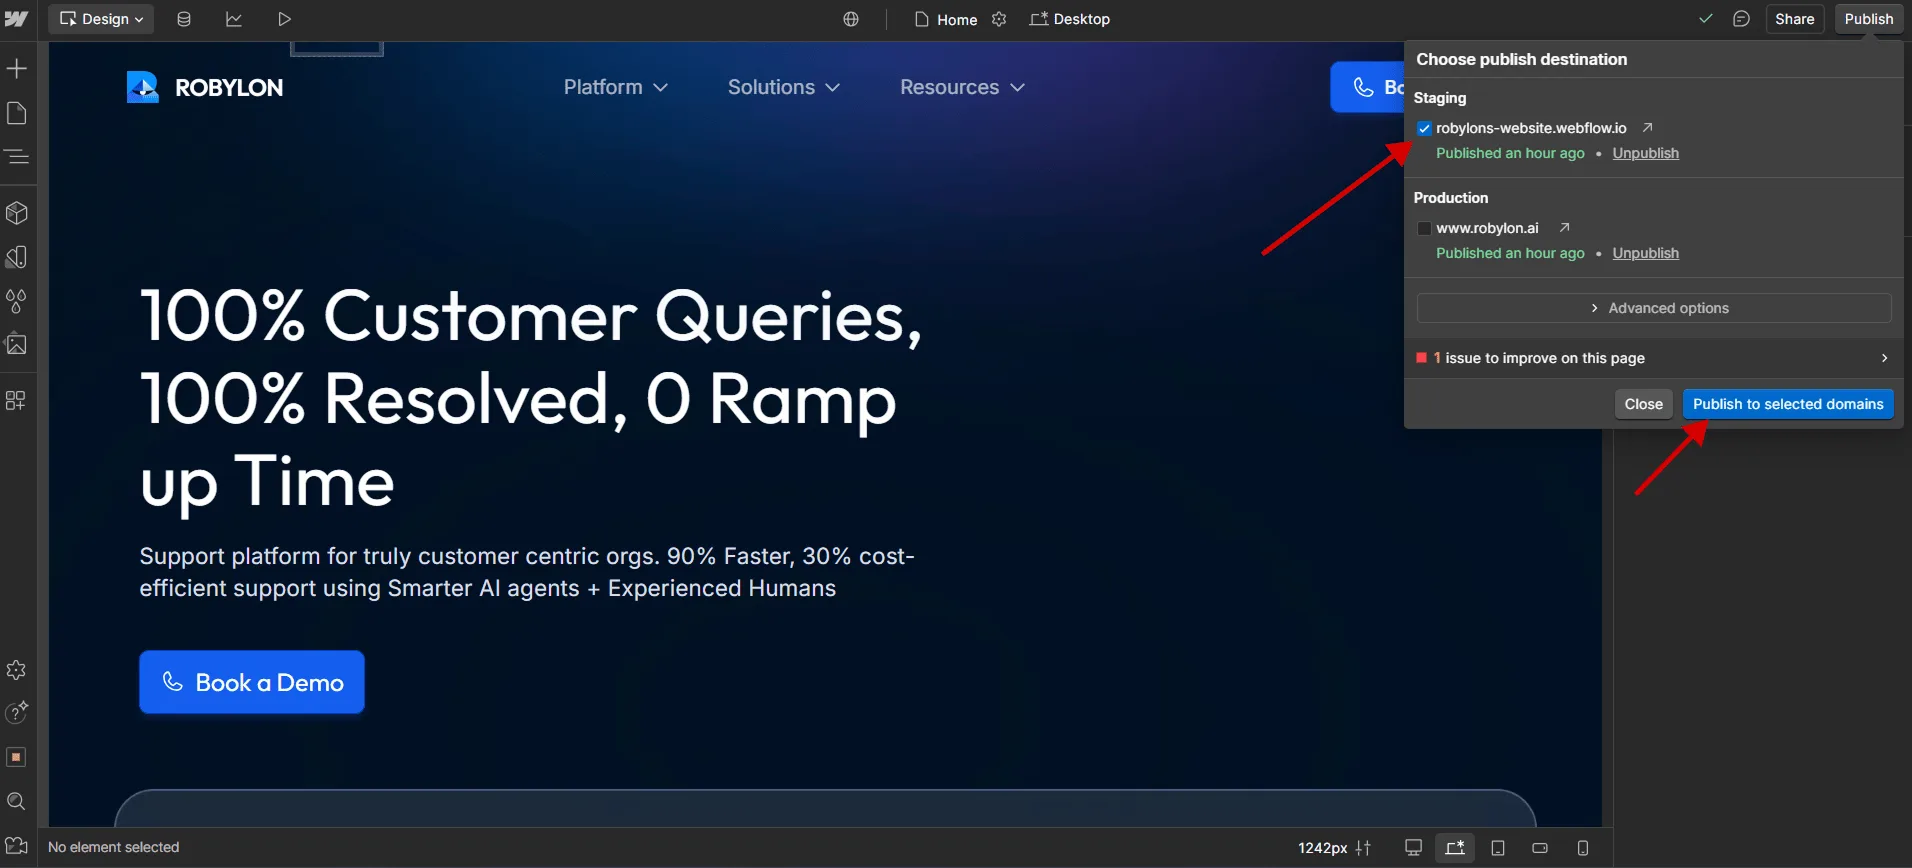
 Publish to your staging domain, check that the chatbot launcher appears and answers a test message, then publish to production.
 To show the chatbot on every page, paste the snippet once in **Site settings → Custom code → Head code** instead of on each page.
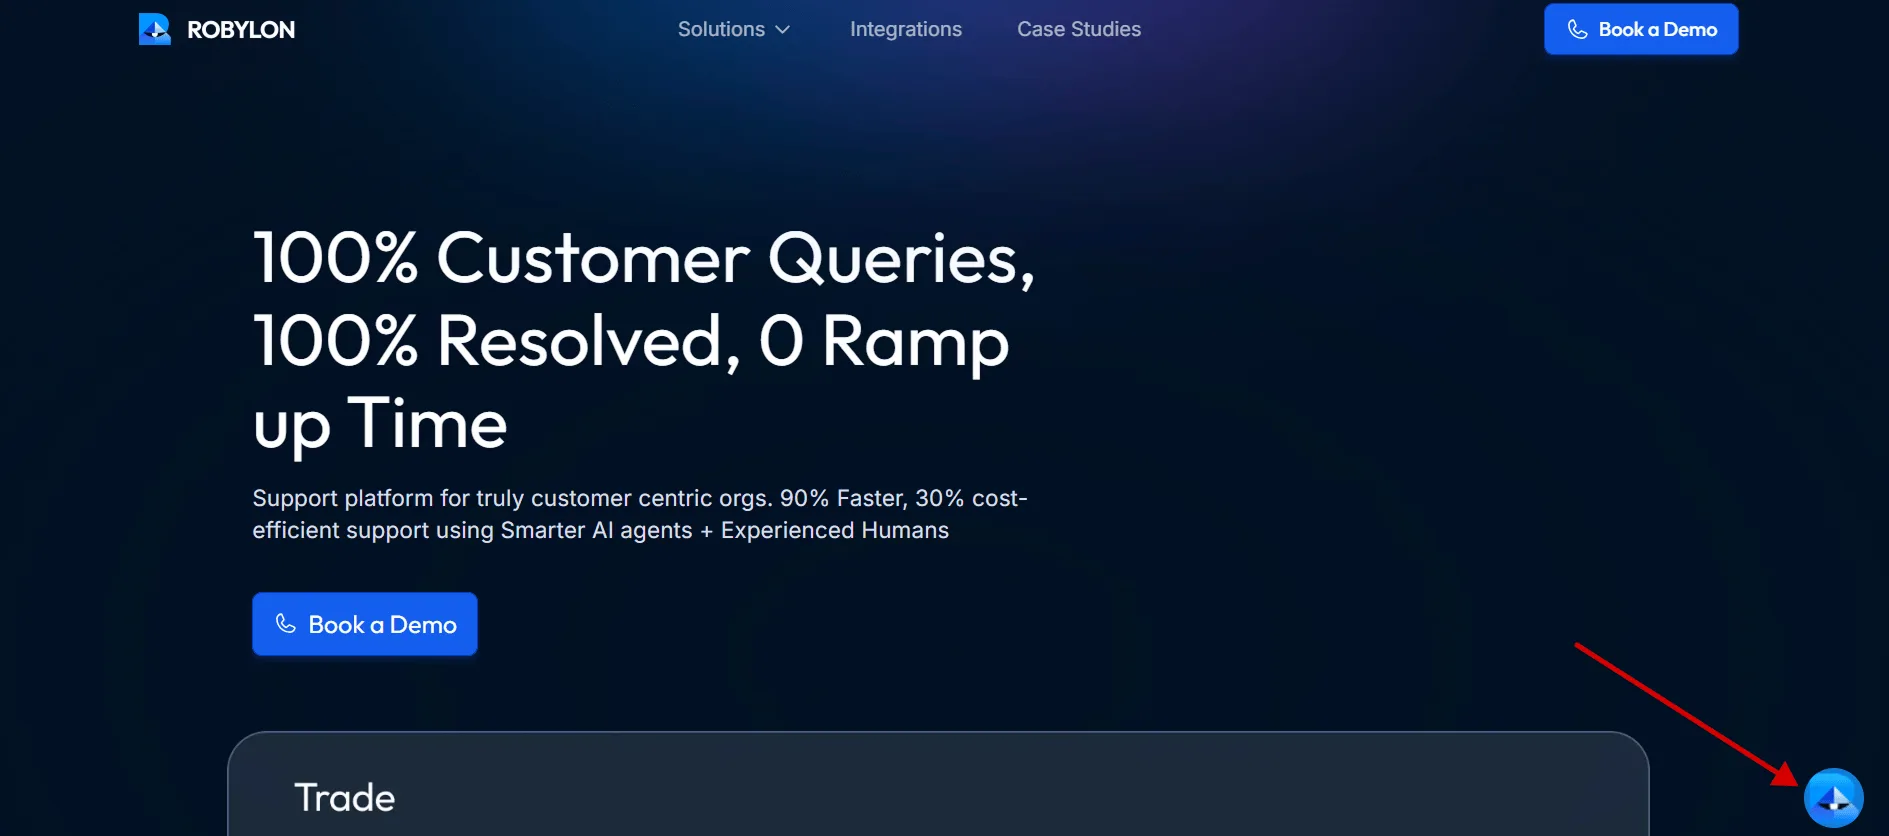 If the launcher does not appear, see [How do I know the chatbot is installed correctly?](https://www.robylon.ai/docs/chatbot/installation#how-do-i-know-the-chatbot-is-installed-correctly)